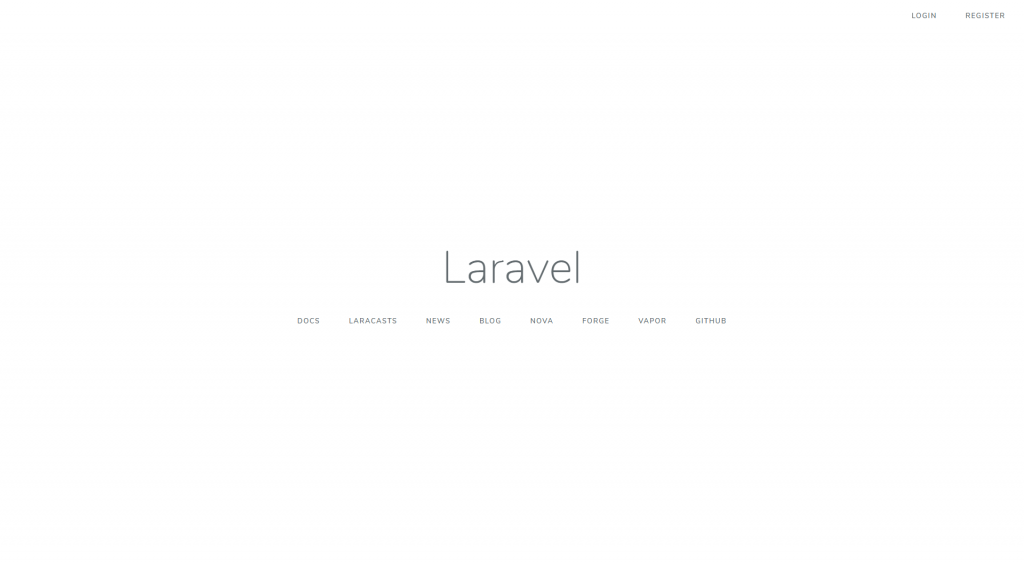
Following to our lecturer Dr Davison’s advice “Test your Laravel project on a public webserver at an early stage”, before I start diving into the app functions and structure, and right after installing my Laravel app on localhost XAMPP and scaffolded the authentication, I tried moving the project to my public hosting server under my domain. To see how that is going to work and to tackle -early- any issues or surprises!
Creating a Subdomain:
I started by moving my files to their new home, I created a new directory outside the public folder /public_html of my shared hosting plan. I called that directory “laravel_app”.
Then I created a subdomain for simple accessing the web app, luckily the current commercial cPanels have made that process an easy task. As I have already a page called “Subdomains” where we can add and edit subdomains to our hosted domain names. So I created “laravel.appsology.co.uk” subdomain.
Then I configured the root directory for the new subdomain to point to the new directory I’ve created in the step above “laravel_app”.
And to test that everything was setup OK I created a new index.html file via FTP connection and edit it by adding some text inside like: “Hello!”. I hit laravel.appsology.co.uk and it worked as expected, an empty page with Hello! word.
Transferring Project Files
There are almost 24,300 files need to be transferred to the webserver in order to make our Laravel project work, and if we do the transferring by the FTP this process would take a very long time. The easiest way is to zip all the files up, upload them to the server inside the wanted directory via an FTP connection as one zipped file then extract that file using the File Manager tool that comes with the cPanel. And so I’ve done, sure enough, that process took me less than two minutes to complete, after that, I got all my project files and folders into my web directory.
I updated the root directory for the subdomain to point to the /public folder of Laravel since this is the folder which contains the app starting point or file index.php.

I tested the app link https://laravel.appsology.co.uk/ after that to make sure it is working, and it was.

However, I tried to register but the database was not found. And that was expected as we only have the database setup in our local server’s SQL which we were accessing it via localhost/PHPMyAdmin.

and to set up the database connection we need to edit the .env file in the root directory of Laravel setup. But first, we need to create the database.
Database setup
Just like we usually do for any WordPress website; to create the database in our web host I used the “MySQL Database Wizard” tool. That tool helped me with creating a database then a user and assign that user to the new database and then give the user the full priveledges to manage that database, all in few simple clicks.
Then I exported the database from my local MySQL on XAMPP then I imported it into the online server.
Edit the Environment file .env
After having the database ready, I added my new database credentials and the app URL by editing the .env file online through an FTP connection.
Then I refreshed the page and everything was working as expected.